在 Excel 中舜間轉移
Teleportation is still an imagination in reality; it is not in Excel world.
When you are working with a large workbook book with many worksheets, or even many workbooks with many worksheets altogether, you are likely to go back-and-forth to different ranges in different worksheets (be it same workbook or not). Sometimes, I am lost in worksheets and wondering if there is a Teleportor that can take me to wherever I want instantly…
Fasten your seatbelt! Here we go!!!
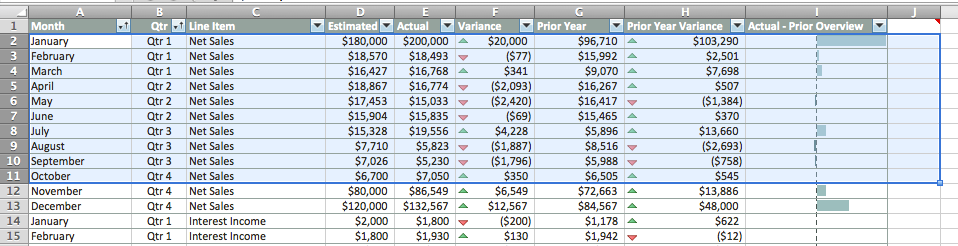
Imagine you have a worksheet with more than 1000 rows.

Instead of scrolling down to see the data on row 500, you may use the Teleportor now

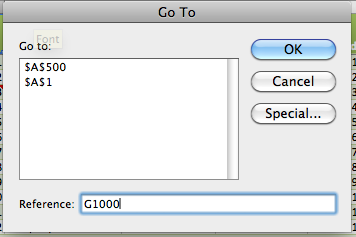
- Ctrl G to open the Go To dialogue box
- Type A500 directly in the “Reference:”
- OK
Instantly, you are at A500

Now activate your Teleportor again by pressing Ctrl G

You will see that A1 is already input; and it is also added to the Go to List. It means Excel remembers where you just come from, or where is your last stop. If you want to go back to where you just came from through the Teleportor, do so by two simply keyboard presses
- Ctrl G
- Enter (i.e. OK)
It takes you back where you were instantly. Isn’t wonderful?

Now press Ctrl G again to see where have you been to?
Well, this is only a warm up. Ready to go farther?
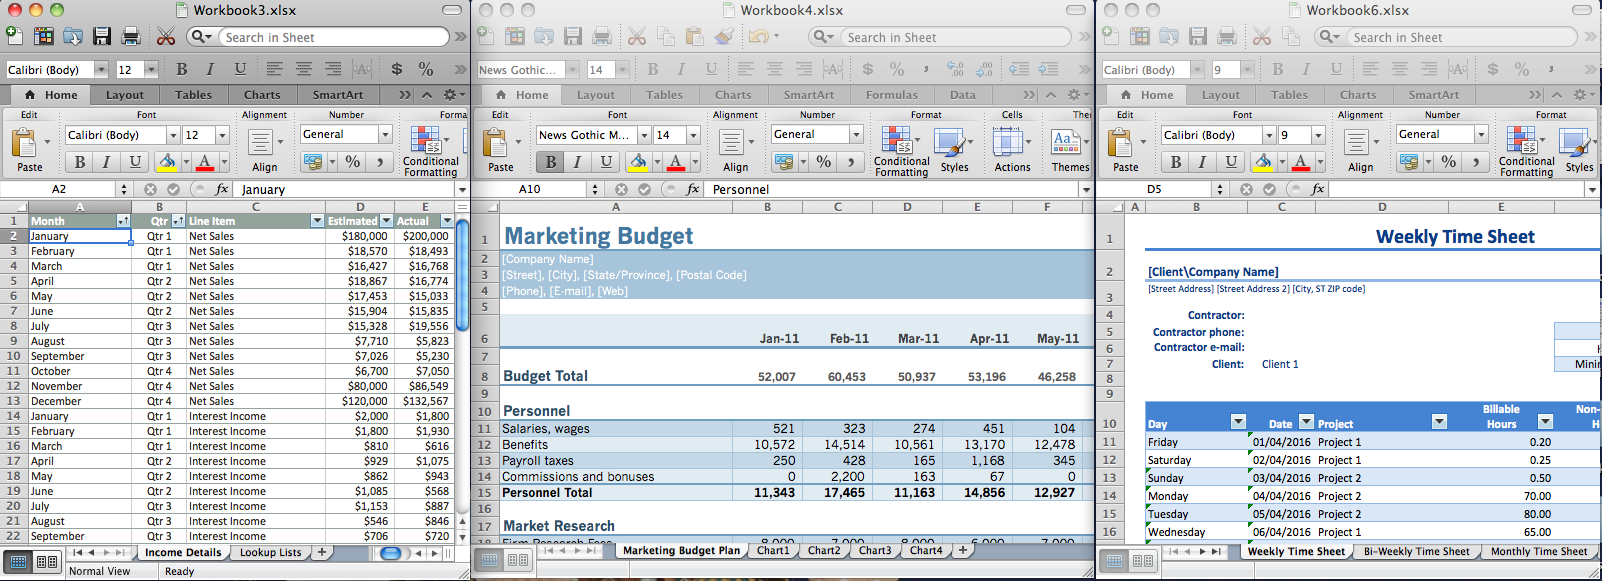
Now we have three workbooks. There are more than one worksheet in each workbook.
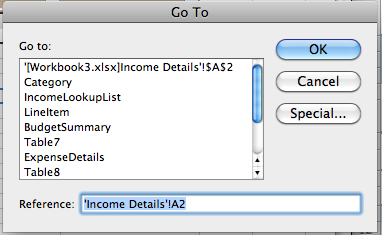
This time, when you get into your Teleportor, you will see a predefined list of “destination”. What are they?
They are the Named Ranges in your active workbook. (if you don’t know what is Named Range, just forget it right now. I will talk about Named Range in my future post. Keep an eye on my post! or simply follow it 🙂
Now instead of teleporting within the same worksheet, I’d like to travel to other worksheets within the same workbook. Thus I have to tell the Teleportor by inputting
‘Lookup Lists’!C1 (Pls pay attention to details. A typo would lead you nowhere)

Again, we get there instantly.

Pls take me back.
OK. No problem. Do you see that your Teleportor knows exactly where you just came from and has put it on the top of the list?
Now let’s travel to other planet (workbook)! Ready to take off?
Ctrl G to activate your Teleportor

This time, you have to be a bit more precise! Tell your Teleportor your destination precisely by inputting:
‘[Workbook6.xlsx]Monthly Time Sheet’!A1
(i.e. which workbook, which worksheet, which cell. Again, a typo leads you nowhere.)

Bingo! Now you can use the machine to travel around with no barrier. You may actually go to hidden cells in this way. Try experiment on your own.
What? Want to go further?
OK. Two more tips:
1) You may go to a range of cells actually.

 This is the result of A1:C20
2) You may test your dynamic named range before you put it into your Name Manager.
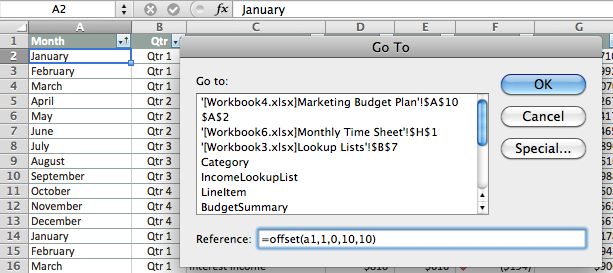
The offset formula here means: starting at A1, go down 1 row, stay on the same column, select 10 rows down and 10 rows right.
The range referred by the formula is selected.
================================================================================
What do you think?


Pingback: Where is the formula referring to??? | wmfexcel